You might wonder how these daggers turned out. Unfortunately, the person who commissioned me never paid their final payment, and thus I ended up sitting around waiting to see how it would resolve before I did my final post on them. I never did end up getting paid, so these daggers are going up for sale.
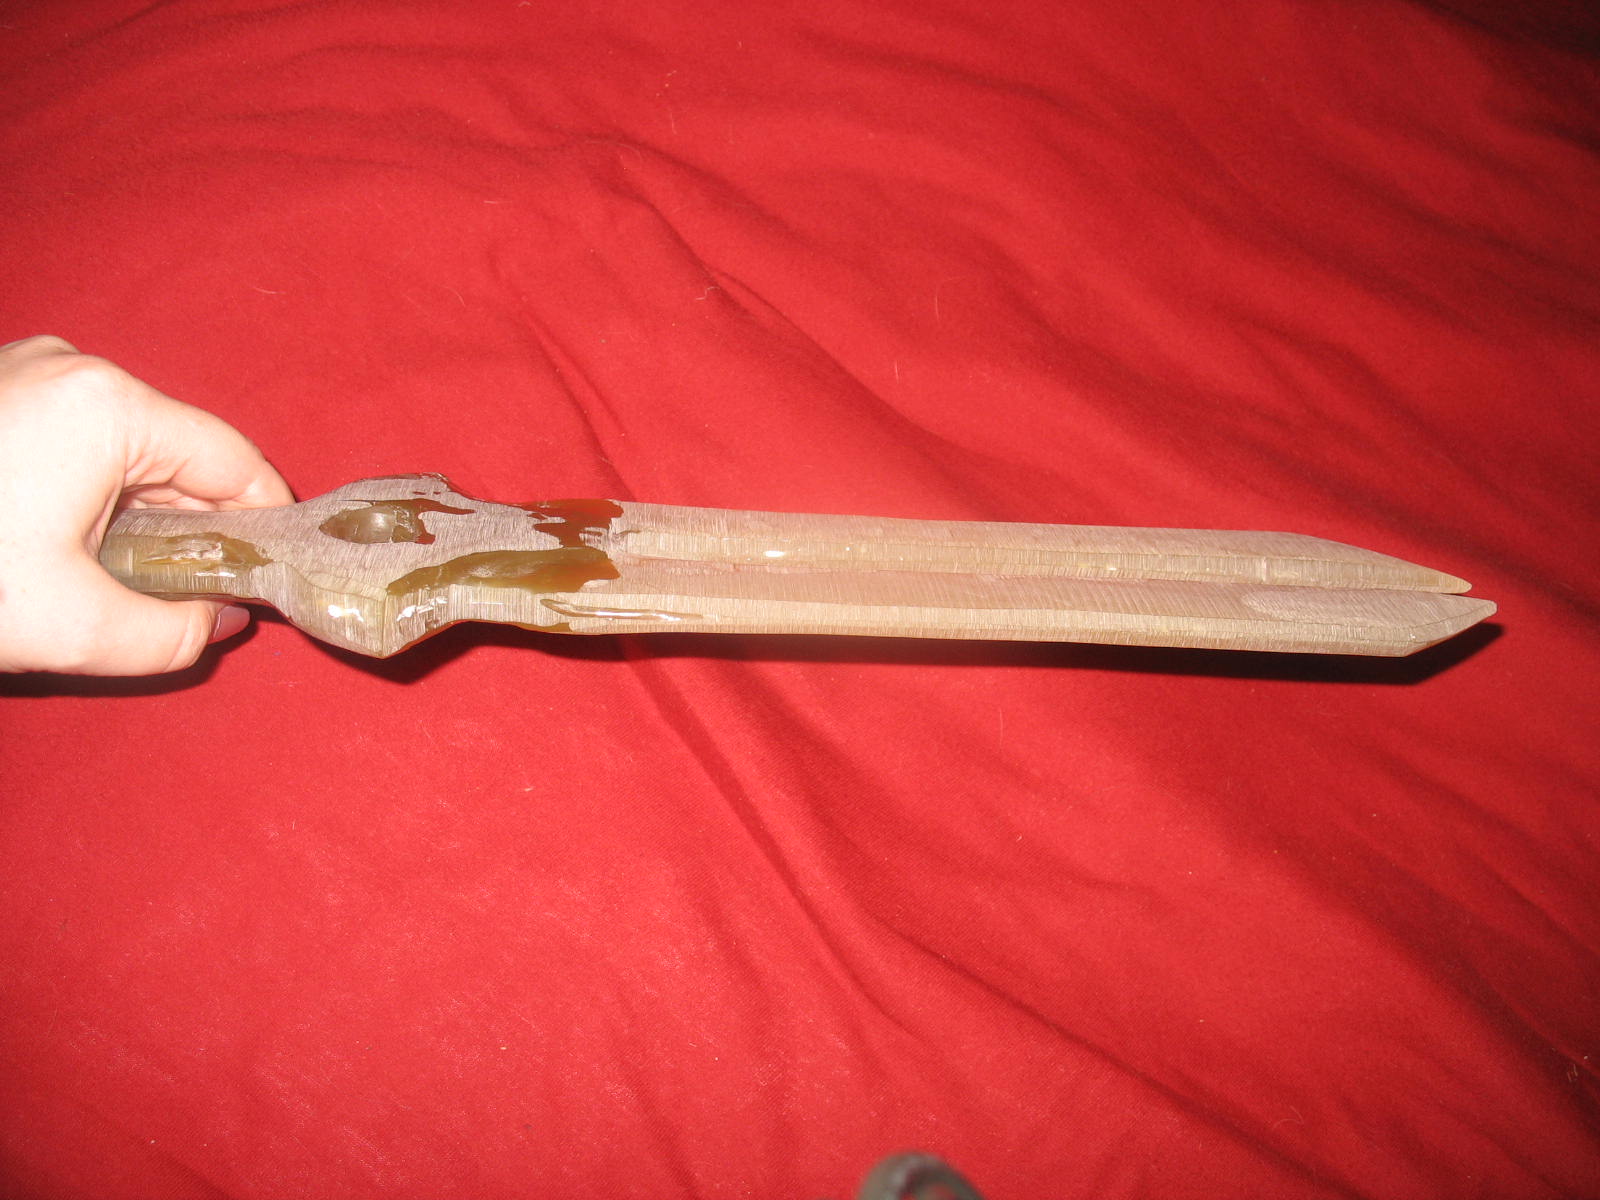
This is the dagger from the previous mold out of the sander. With my client wanting the blades as thin as they were, I was coming up against a few major problems. Mostly, my cast was not perfect mirror image of itself, and I was having to handle that. I continued sanding it down, and gave them a fast coat of some boring black matte paint just so I could see the imperfections of the blades.
Clearly not perfected yet, but I showed them to the client. He was unhappy with them, so I offered to recast them and give it another shot. I also wanted to try a different method of putting the blades together, hoping for a smoother make.
You can see here the top blade is put together using a very strong adhesive, and sanded, while the bottom is the same adhesive, not sanded. So, after more sanding, I was finally happy enough with them to give them their first spray coat.
Problem: the spray coat bubbled. Oi, seriously? So, while the daggers looked better, I had to strip off most of the coat and go at it again.
The stripped coating and reapply turned out better. I started to edge them in silver.
Here are the basic final daggers. They're sitting sullenly waiting for an owner now, due to my commisioner not paying for the final payment. They've been sitting for about four months now, so I plan to touch them up. You can see how thin the blades turned out in the end, but I think that was part of what made this all so difficult to do. With a thicker blade, a little less accurate, I think it would have been easier to work with. In fact, I actually made FIVE daggers. One broke because the blade was so thin. You can see the difference between the final pair (on top) and the first pair (bottom). Final pair has the proper paint and final sanding while the bottom pair does not.
As always, I put my thoughts on the pieces. Well, first thought, is I would not do these out of resin if I did them again. I would do them out of wood like I had originally desired to. It was an interesting experience to go down though. Resin molding definitely has its advantages, but I think in other circumstances than what I tried to do with it. I think the biggest problem was the thinness of the blades the client wanted. It made for quite a few difficulities. I also think I would go at it more with a detail sander than the belt sander. All in all, the daggers look good in photographs, they have an excellent weight, and myself and everyone who's come into contact with them loves posing and playing around with them.
If you wish to purchase them, please email me at the email above and we'll come to a price. I'm willing to go fairly good on the price as these aren't made to anyone's specific needs and I'm only trying to get back what was lost due to lack of payment from the client. I'd also be willing to sell the first pair, but I would need to finish them off (final sanding and painting). They are a little thicker, a little heavier, and a little more sturdy than the final pair.
View the creation of cosplay props in progress and learn some interesting techniques to help with your own.
Showing posts with label fiberglass. Show all posts
Tuesday, January 18, 2011
Tuesday, August 17, 2010
Hei's Daggers - Darker Than Black: Part 3
After all of those painful setbacks with the daggers, I was actually going into this part with a heavy and concerned heart. After using a product with the Smooth-On company before, I decided to give them a call and see what they suggested. They suggested their OOMOO 25 product, and so would I.
It's a really, really simple mixture. Take container A, add matching amount from container B, pour into mold. I built a mold out of some cheap thin wood I had lying around and hot glue, proving you can make a basic mold from anything. I put my dagger I built from the foam board/clay and poured this mixture over it. Low and behold, I ended up with the mold above.
Tis floppy, no? It picks up every little detail and texture, even the wood it was poured into! Its durable stuff.
Now, the problem came that their casting resin? Is 150 dollars a gallon. Mind you, I didn't charge my client nearly enough money to buy their resin. So, it got me thinking. I spent my lunch break hunting down some more fiberglass resin since Lowes decided to stop carrying it, and I lugged home a gallon of it for 35 bucks. Mind you, I didn't have any sort of releasing agent or anything for this. Now, after the problem with 'resin dissolves foam', I decided to do a wee test batch. I took a piece of the mold and cut it off, cut that piece in two, then submerged half of one piece into a cap full of resin and slathered a bunch of resin on the other piece.
Much to my joy, the resin didn't eat the mold material at all! Even MORE of a surprise, when I gave a light tug on the piece I had half-submerged? It slipped right out! No damage to mold or resin.... PERFECT.
So, I mixed up a match of resin, realized quickly after pouring it I made way too much, and hoped.
Very quick note: I discovered that for some reason or another, the resin will stay where you pour it. Meaning if you pour it thick in the tips, instead of evening out like, say, water... it'll stay real thick at the tips. Oh well, lesson learned... the instructions for fiberglass resin says to add 'a few drops' to it - screw that. I always had 'a hefty squirt' to it. It dries faster and, if you screwed up and didn't add enough hardener, you won't accidently have half-dry-but-unable-to-finish-drying resin like I had once. >.>
One hour later...
I had this beauty. It slipped RIGHT out of the mold without any problems or damage to mold or dagger. It is PERFECT. It took to every detail like a charm. The dagger is going to need some facetime with Mr. Belt Sander and Mr. Dremel though, but I call it a huge success.
How thick it ended up being - thicker than required but that's what a belt sander is for.
Detail shots. You can see how the angles turned out beautifully.
I actually poured a second one right after this. I will have to play with the pouring to get an even thickness, but produce four or forty of these will be no problem. I need to do two more tonight, hit the under sides with the belt sander to get an even thickness, glue them together, then belt sander+dremel v. 2.0 to get the daggers even and flat all around. Then its gesso, painting, aging, and... SHIPPING! On schedule for Sept. 1st delivery date.
Labels:
daggers,
darker than black,
fiberglass,
hei,
molding,
resin
Monday, June 21, 2010
Gaara's Gourd - Naruto: Shippuden (Part 2)
Two important things in one picture. First is the gourd itself - here it is in its completed resin state. The entire gourd has two layers of resin soaked fiberglass cloth on it. It is nigh-on indestructable in this state as I can well testify to, it can survive anything I've accidently done to it so far!
The small green ball on top of the gourd is actually a replica in a sense. It is also a plastic-rubber ball wrapped in fiberglass and resin, albeit only one layer. It was to do a very important test.
I had to make sure that the resin had not chemically bonded to the plastic-rubber ball inside, as was my fear, and that only two layers would survive losing its internal base.
One knife stab later, we had proof that indeed the gourd would survive the ball popping. So, the two interior balls were popped and carefully removed along with most of the clay that had been supporting the two balls together.
Here is the gourd after it has not only been popped (you can see through it slightly) but sanded as well. Sanding took probably a good two hours with an electric sander, sand paper, and a dremel.
After some experience with the spray paint I chose to do the sand-texture and final color, I knew that painting the gourd before hand would be a huge time and money saver. So I went to my local hardware store and for 9 bucks picked up a hand-picked can of colored paint. I would go with a darker/more orange color next time, but it turned out good enough!
Unfortunately, I missed a picture here so I will explain. The first painting is never the final one. Painting brings out every single defect in the resin surface - a hole here, a missed drop here, a rough spot there. So some plaster was required to fill in the rough spots. Tiny holes were filled in, gaps between places where the resin ran, edges that weren't quite smooth. Then, a final layer of paint was put on to cover the plaster and that is what you see above.
Here, in my very messy cosplay room, you can see the final spray painting job on the v.2 gourd as compared to the v.1 gourd. With the layer undercoat, the gourd turned out slightly less orange in color, plus I did a spritz of a secondary textured sand color to give it some black flecks in it.
And here, the final picture of the completed gourd. It has the large cork in the top, the MWM symbols painted on (there are four of them) and the white wrappings + temporary harness wrapped around its middle.
All in all, pleased with the project. Have some ways to save money now, and a definite on just how quickly I can make one. There's no way to save time on how long it took - I did it in record time and other than problems with the weather there was nothing I could have done to take less time. Next time a darker/orange underpaint will be used to enhance the color.
Labels:
fiberglass,
gaara,
gourd,
naruto,
resin
Monday, June 7, 2010
Gaara's Gourd - Naruto: Shippuden
This project is one special to my heart. I created the first Gourd back in 08 when I had almost no idea what I was doing, simply giving something new a shot when I was in a cosplay funk. It became a difficult, aching project that both worked beautifully... and was a failure... in the same shot. It looks absolutely perfect, and I'm pleased for that, but it is very large and heavy - and impossible to carry on my back. So, I always wanted to redo the whole project.
So here I am, two years later, with a similar but different attempt at the same project - this time, keeping careful track of time and money spent.
My apologies that the pictures all end up on their side. Here's the first attempt at getting things started. It was 5 dollars for the two large bouncy balls. Between them is a 1/4 of a $20 dollar box of model magic that'll form the neck of the gourd. On the bottom isn't a base, just a large bowl I use for resin work.
This is the neck between the two balls, the top ball, and the ring of clay that'll be the opening of the gourd with its comically large cork inserted. Yep, it's a real cork that huge!
The very first batch of resin work. That'll be that lovely brown-yellow stain on the green ball. I started with the neck between them as it needs the most support and will keep me from cursing every time the two balls fall apart. I was glad to quickly remember some of my resin-ing skills from two years ago. I also learned that I needed at least two layers of cloth/resin to make the ball hard enough you could no longer press inwards/the ball was squishy.
Beside it is the original gourd. You can see the size difference in the two like this. They're actually just about the same height!
Addition of more resin - the gourd is upside down to let the newly formed clay base dry. You can also see the fiberglass cloth that I didn't have enough resin to lay down but was already stuck to the gourd - that'd be the white along the side.
One weekend's worth of fiberglass+resin. The bottom ball is pretty much done - I'll be double checking it tonight for any 'weak' (squishy) spots and laying over patches if needed. 50% of the top ball has its first layer of resin+fiberglass and 25% has two layers (closer to the neck) so I'll be doing that next.
This gourd is far, far lighter than the original gourd even with the clay and balls still in it. Keep an eye out for further developments!
Labels:
fiberglass,
gaara,
gourd,
naruto,
resin
Saturday, October 20, 2007
Gaara's Gourd: First Attempt - Part 4
With it spray painted, I started on the MWM symbols.
I quickly learned something - should have done the yellow first.
And here it is, completed and in use.
It was quite a task. It has some major problems - it's too heavy to wear on my back. Next time, I'm not going to use any clay in it. Also, probably because of the clay, it didn't come out as smooth as I'd like. Otherwise, it looks beautiful and I'm pleased with that. There will be a next time, someday!
Saturday, October 13, 2007
Gaara's Gourd: First Attempt - Part 3
After many tears and blood and sweat, the gourd is whole and hollow. It's a little weightier than I had expected which has been deeply concerned.
The fiberglass cloth gets laid on the surface, sewn and sticky-tacked down.
Many, many hours later and discovering its the worst smell ever, the gourd is completely covered in resin. It's as solid as plastic and everything I could have hoped for. Unfortunately, it's much heavier than I would have expected.
I found an amazing spray paint that gives a sand-like texture in the perfect color. This is the result. You can see a close up of the texture...
Completely random, but this was waiting for me just outside the front door when I went to spray paint.
Saturday, September 22, 2007
Gaara's Gourd: First Attempt - Part 2
Well, the second half of this project didn't come as clean as I'd hoped.
And... what happened when I removed the ball. That pile of white on the right there? That's the gourd-ball. -.- I cried.
With some inspiration from JF, I started to glue the pieces back together. Note that the hot glue gun did not make a pleasant smell when it hit the glue I original used... hence the mask.
FRANKENGOURD LIVES! You can see it is a ball now, and hollow. In the bottom of it, that dark stuff is the pool of resin which is drying to fill in a weak spot on the interior.
Friday, August 31, 2007
Gaara's Gourd: First Attempt - Part 1
Thus begins another prop I have never made before. I didn't want to do paper mache, but I knew about resin... so I honestly just started off without much idea what I was doing.
These are the two balls I decided to use to make the gourd from. They're large playground balls, and below is a height comparison.
Amazing, huh? I used Crayola Model Magic as it was fairly light. Not cheap though at 20 dollars a box for it. After the first round, and purchasing one very, very large and real cork from a specialty dealer, I have the top of the gourd.
I peeled off the top once it was dry and popped the ball inside, leaving only a hollow shell.
What was left is what you see - a hollow bubble with the top seperate. When the top dries, and no longer is in danger of falling inwards, I'll make it one piece. I will carefully use resin on the inside of the ball, then I am going to fibercloth resin the whole outside so it is one solid piece.
Subscribe to:
Posts (Atom)